
Explore how coffee grinder types (burr vs. blade) and grind size consistency impact flavor. Find the perfect setting for Espresso, Pour-over, and French Press.
Previous post
Coffee Grinder Guide: How Grinding Affects Flavor and Extraction
Date
We’ve all been there: you change your burrs, unbox a new grinder, or simply pour a fresh batch of beans, and suddenly your espresso is either gushing out like a waterfall or choking the machine drop by drop. Adjusting your grind size is a daily barista ritual, but guessing will only cost you half a bag of precious coffee.
At Blue Faro, we want you to stop gambling with your extractions. Follow this simple three-phase framework to dial in your professional espresso grinder quickly and efficiently.
Before adjusting your grinder's collar, analyze your current extraction:
Load the hopper: Fill it with your go-to Blue Faro Espresso Roast. The physical weight of the beans inside the hopper creates consistent pressure down into the burrs.
Purge the chamber: Grind a tiny amount of coffee for 2 seconds and discard it. This cleans out stale grounds or particles left from a previous setting.
Use a scale: Consistency requires metrics. Always use Barista Precision Scales to weigh both your dry dose and your liquid yield.
Stick to a standard recipe (1:2 ratio): A reliable baseline is loading 18 grams of ground coffee into your portafilter to extract 36 grams of liquid espresso in 26 to 30 seconds.
Time the extraction: Start your shot and stop the pump exactly when your scale hits 36 grams. Check your timer. Use the Troubleshooting Matrix above to evaluate the results.
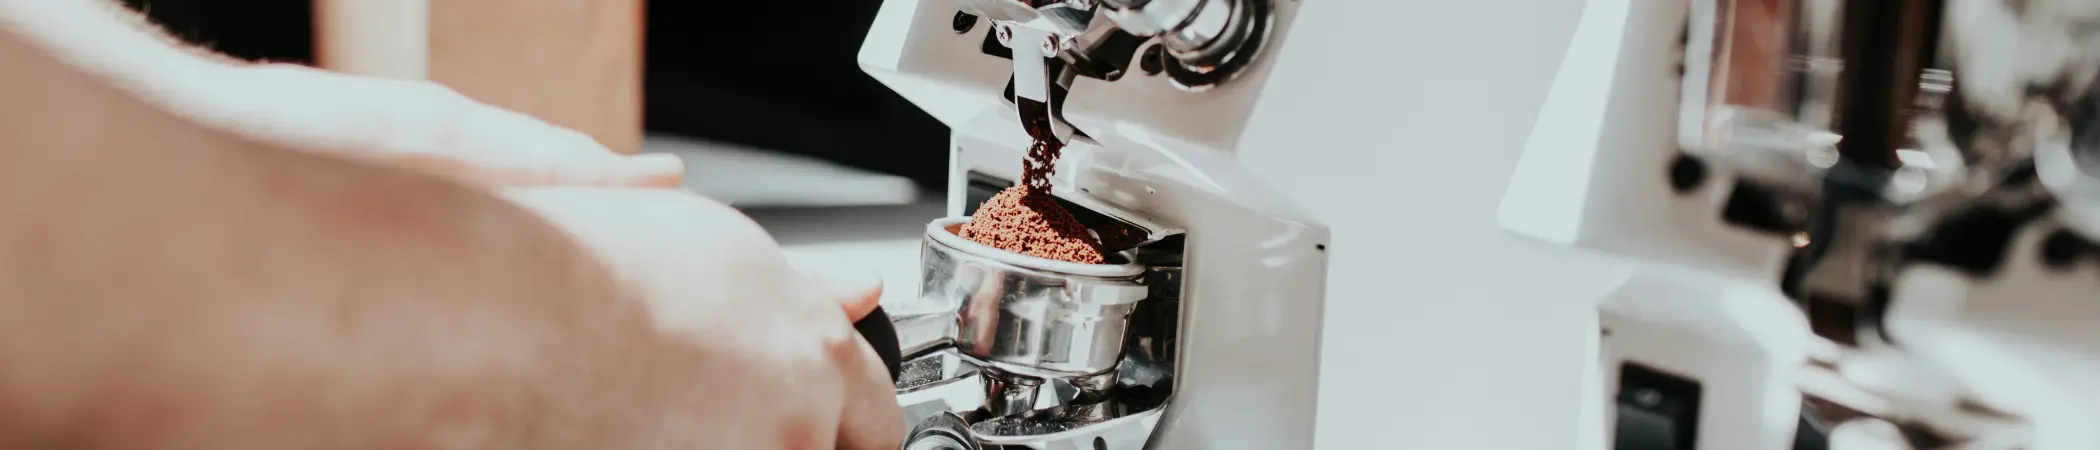
⚠️ Pro-Tip: Whenever you adjust your grinder to a finer setting, always keep the motor running. Turning the adjustment collar finer while the burrs are stationary can trap whole beans, jam the mechanism, and strain the motor.
Shift the collar: Turn the adjustment ring toward fine or coarse based on your baseline shot. Make small adjustments; professional grinders react to fractions of a millimeter.
Purge the adjustment: Grind and discard another small 3-second dose. This flushes out the old grind size remaining in the chute.
Pull the validation shot: Keep your prep, dose, and tamping identical. If your shot lands smoothly within the 26–30 second window, it’s time to taste it!
An espresso recipe is a guide, not a prison. If your extractions hit the correct time but taste slightly sour, extend your liquid yield by a gram or two until you find the sweet spot.
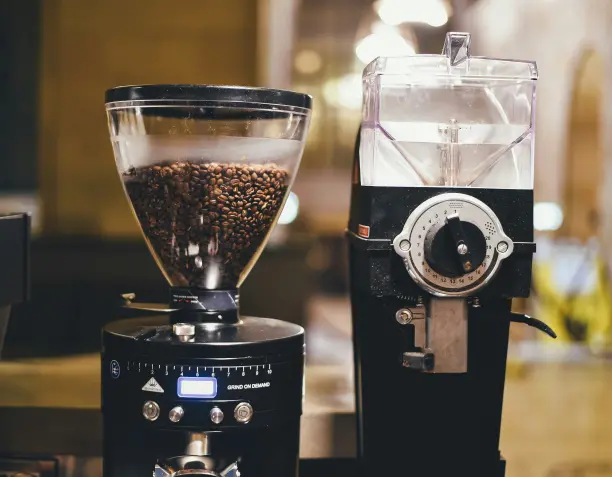
Explore how coffee grinder types (burr vs. blade) and grind size consistency impact flavor. Find the perfect setting for Espresso, Pour-over, and French Press.