
Learn why coffee distribution matters before tamping, how WDT works, and how better puck preparation can help reduce channeling and improve espresso consistency.
Previous post
How to Distribute Espresso Grounds Before Tamping

Date
Tasting different coffees side by side is one of the most effective ways to develop your palate. When several cups are prepared under controlled conditions, it becomes much easier to identify what changes from one cup to another and connect those differences to brewing variables.
This week, we are looking at a simple experiment designed to explore one of the fundamental variables in espresso: extraction.
All you need is coffee, a scale, a grinder and an espresso machine. You do not need professional equipment or a specific coffee. In fact, running the experiment with the coffee and equipment you use every day can make it even more useful.
The same principle can later be adapted to other brewing methods.
Intensity and extraction are closely related, but they are not the same thing.
Intensity is primarily related to the concentration of the beverage, while extraction describes how much soluble material has been removed from the coffee and dissolved into the water.
Two coffees can have a similar concentration while tasting very different because they have been extracted differently.
The challenge is that when tasting a single espresso without a point of comparison, it can be difficult to identify exactly what is changing.
That is why deliberately preparing several cups at different extraction levels and tasting them side by side is such a useful palate-training exercise.
Start with your usual espresso recipe.
There is no need to change your coffee, dose or grind setting. The idea is to use a preparation you already know and treat it as the reference point for the experiment.
We need to control two main variables:
The amount of dry coffee placed in the portafilter, measured in grams.
The weight of the brewed espresso in the cup, also measured in grams.
For example, if you use 20 g of coffee and produce 40 g of espresso, your brew ratio is 1:2.
For this experiment, we do not need to focus heavily on shot time. We will keep the coffee, dose and grind setting constant and primarily change the yield.
Now prepare seven espressos using the same dose and grind setting, but different yields.
Your usual espresso will be number 4, the midpoint of the experiment.
Each cup should differ from the next by approximately 4 g.
For example, if your usual yield is 40 g:
| Espresso | Yield |
|---|---|
| 1 | 28 g |
| 2 | 32 g |
| 3 | 36 g |
| 4 | 40 g |
| 5 | 44 g |
| 6 | 48 g |
| 7 | 52 g |
These numbers are only an example. Use your own dose and usual yield to build the series around your normal recipe.
Grind the coffee, weigh your dose and distribute it evenly in the portafilter.
Tamp as you normally would.
Place the cup on the scale and tare it.
Start the extraction.
Stop the shot when you reach the target yield.
Try to keep each preparation as consistent as possible. Small deviations will not ruin the experiment, but more accurate yields will make the comparison easier.
Important: do not change the grind setting between shots. Do not change the dose either. We want to observe what happens when we primarily change yield while keeping the rest of the preparation constant.
This is the most interesting part of the experiment.
When yield changes while dose remains constant, the concentration of the beverage also changes. In general, the shorter espresso will be more concentrated, while the longer espresso will be more diluted.
To compare extraction more directly, we need to reduce this difference in concentration.
The solution is to add water to the shorter espressos.
The longest espresso will be the most diluted, so we can use it as our concentration reference and add water to the other cups until they are brought closer to the same intensity.
The exact amount of water will depend on your dose, yield and final concentration. If you want to make the experiment more precise, you can use a brew-ratio or TDS calculator.
The result is a series of beverages with more comparable concentration but different extraction levels.
Now comes the most important part: taste them side by side.
You can organize the seven cups into five approximate groups:
1 and 2: very under-extracted
3: slightly under-extracted
4: reference extraction
5: slightly over-extracted
6 and 7: very over-extracted
These categories are simply a framework for the experiment, not absolute classifications. Perception will vary depending on the coffee, roast level, water and brewing recipe.
Taste the cups from left to right and take notes.
Do not worry about finding sophisticated tasting descriptors. It is more useful to write down exactly what you perceive: citrusy, sharp, sweet, dry, bitter, vegetal, astringent, hollow, intense, clean, muted, and so on.
At lower extraction levels, you may notice characteristics associated with insufficient extraction:
pronounced or poorly integrated acidity;
reduced sweetness;
sharp or unbalanced flavors;
flavors reminiscent of very acidic citrus or underripe fruit;
a less developed overall cup.
An under-extracted espresso will not necessarily taste simply “sour.” The exact profile depends on the coffee and brewing conditions.
As extraction increases, sweetness, development and balance may become more apparent.
At some point, you will find a cup that, for your palate, presents a more pleasant relationship between sweetness, acidity, bitterness, body and clarity.
That point is more useful than trying to memorize a universal number.
As extraction continues to increase, you may begin to notice:
more pronounced bitterness;
dryness or astringency;
reduced sweetness;
muted flavors;
a less clean or less pleasant finish.
Again, coffees do not all respond in exactly the same way. The goal is not to memorize a list of defects, but to train yourself to recognize how the same coffee changes as extraction increases.
Once you have finished tasting, compare the seven cups and your notes.
Ask yourself:
Which cup had the most sweetness?
Where did the acidity feel most balanced?
When did bitterness become noticeable?
At what point did dryness or astringency appear?
What characteristics did you notice in the under-extracted cups?
What changed as extraction increased?
Which cup would you choose to serve this coffee?
This experiment also helps demonstrate that an espresso recipe is not simply a collection of numbers.
Dose, yield, time, temperature, grind size and other variables interact with each other. A recipe that works well for one coffee may not be the best choice for another.
Comparative tasting allows you to build sensory references much faster than tasting coffees in isolation.
When you taste a single cup, you may know whether you like it or not, but it is much harder to identify which variable is responsible for that perception.
When you taste seven preparations consecutively, the differences become much easier to recognize.
Over time, this type of training can help you identify patterns in the cup and make faster decisions when dialing in an espresso: do I need more or less extraction? Should I change the yield, grind size, dose or another variable?
That is the real goal: not memorizing a perfect recipe, but learning how to taste, compare and adjust.
The better you understand what is happening in the cup, the easier it becomes to use espresso parameters as a tool rather than as a rigid formula.
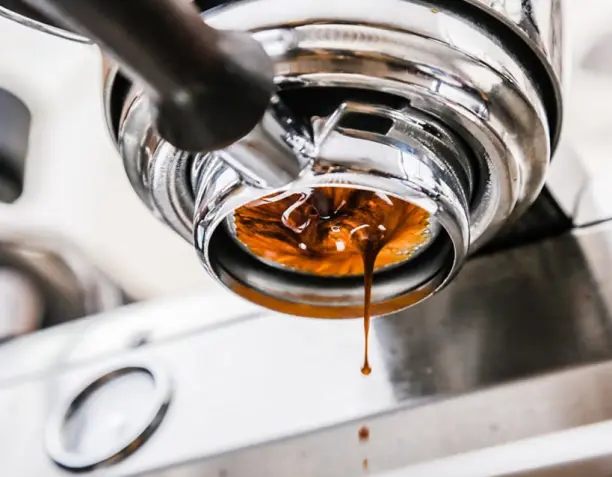
Learn why coffee distribution matters before tamping, how WDT works, and how better puck preparation can help reduce channeling and improve espresso consistency.
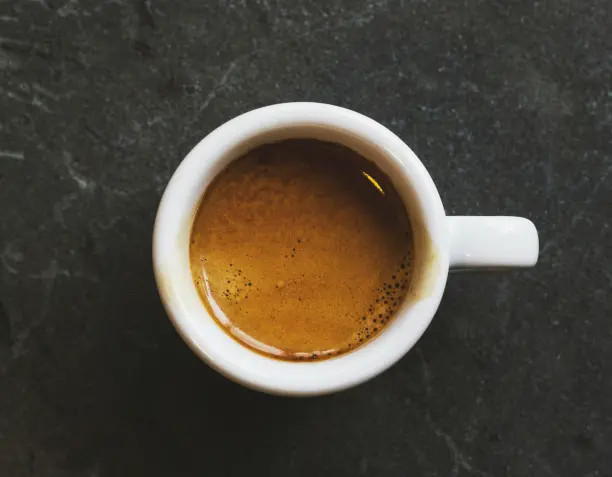
Learn how to make the perfect espresso with this professional step-by-step guide. Discover the ideal grind size, extraction time, tamping technique and barista tips for better coffee.
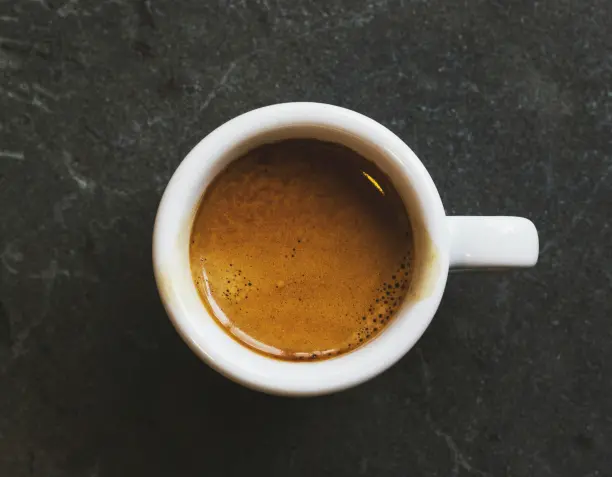
Learn what coffee extraction is, how to identify under-extraction and over-extraction, and how grinding, time, temperature and water affect your cup.